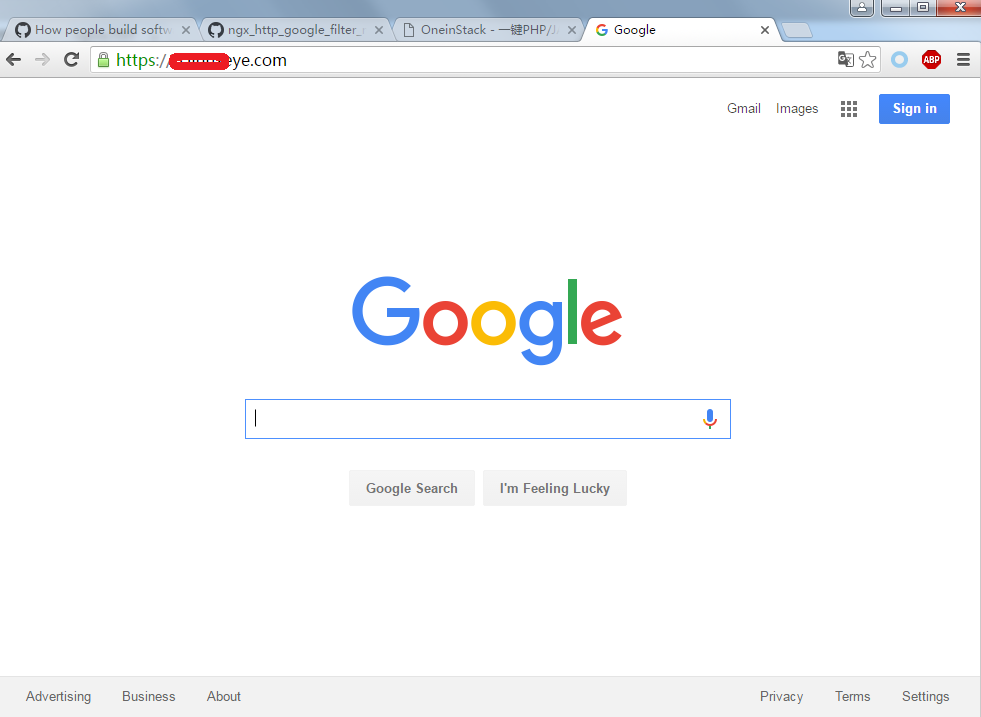
最近發現之前搭建的《Nginx發現代理Google》不好用,查找方法發現一個更好方法,直接安裝Nginx模塊即可。
地址:https://github.com/cuber/ngx_http_google_filter_module
ngx_http_google_filter_module 是一個過濾器模塊,能夠讓谷歌鏡像更便捷的部署。內建了正則表達式、URI locations和其他復雜的配置。原生nginx模塊確保了更加高效地處理cookies, gstatic scoures和重定向。
使用《OneinStack》Nginx選擇y,其余n
重新編譯Nginx,安裝ngx_http_google_filter_module模塊
cd /root/oneinstack/src
git clone https://github.com/cuber/ngx_http_google_filter_module
git clone https://github.com/yaoweibin/ngx_http_substitutions_filter_module
wget http://mirrors.linuxeye.com/oneinstack/src/pcre-8.38.tar.gz
wget http://mirrors.linuxeye.com/oneinstack/src/openssl-1.0.2h.tar.gz
tar xzf pcre-8.38.tar.gz
tar xzf openssl-1.0.2h.tar.gz
tar xzf nginx-1.10.1.tar.gz
cd nginx-1.10.1
./configure --prefix=/usr/local/nginx --user=www --group=www --with-http_stub_status_module \
--with-http_v2_module --with-http_ssl_module --with-ipv6 --with-http_gzip_static_module
--with-http_realip_module --with-http_flv_module --with-openssl=../openssl-1.0.2h \
--with-pcre=../pcre-8.38 --with-pcre-jit --with-ld-opt='-ljemalloc' \
--add-module=../ngx_http_google_filter_module \
--add-module=../ngx_http_substitutions_filter_module
make
mv /usr/local/nginx/sbin/nginx{,_`date +%m%d`}  #備份現有nginx
cp objscp objs/nginx /usr/local/nginx/sbin/  #更新nginx
nginx -t  #檢查nginx語法
service nginx restart
要正確使用ngx_http_google_filter_module模塊,需要依賴擴展:
cd /root/oneinstack
./addons.sh
選擇7安裝Let's Encrypt,具體參考《OneinStack自動部署Let’s Encrypt證書》
cd /root/oneinstack
./vhost.sh
vhost.sh綁定域名(demo.linuxeye.com,請改成自己域名),ssl選擇y,Let's Encrypt選擇y,具體參考《OneinStack自動部署Let’s Encrypt證書》
vi /usr/local/nginx/conf/vhost/demo.linuxeye.com.conf,保持內容如下:
server {
listen 443 ssl http2;
server_name demo.linuxeye.com;
ssl_certificate /usr/local/nginx/conf/ssl/demo.linuxeye.com.crt;
ssl_certificate_key /usr/local/nginx/conf/ssl/demo.linuxeye.com.key;
ssl_session_timeout 10m;
ssl_protocols TLSv1 TLSv1.1 TLSv1.2;
ssl_prefer_server_ciphers on;
ssl_ciphers CHACHA20:ECDHE-RSA-AES256-GCM-SHA384:ECDHE-RSA-AES128-GCM-SHA256:ECDHE-RSA-AES256-SHA384:ECDHE-RSA-AES128-SHA256:ECDHE-RSA-RC4-SHA:ECDHE-RSA-AES256-SHA:DHE-RSA-AES256-SHA:DHE-RSA-AES128-SHA:RC4-SHA:!aNULL:!eNULL:!EXPORT:!DES:!3DES:!MD5:!DSS:!PKS;
ssl_session_cache builtin:1000 shared:SSL:10m;
resolver 8.8.8.8 8.8.4.4 valid=300s;
resolver_timeout 5s;
location / {
google on;
google_scholar on;  #google_scholar 依 賴於 google, 所以 google_scholar 無法獨立使用。由於谷歌學術近日升級, 強制使用 https 協議, 並且 ncr 已經 支持, 所以不再需要指定谷歌學術的 tld
google_language en;  #語言偏好,默認使用 zh-CN (中文)
}
}

server {
listen 80;
server_name demo.linuxeye.com;
rewrite ^(.*)$ https://$host$1 permanent; #訪問http跳轉至https
}
保持配置文件重啟nginx:
service nginx restart