為什麼突然想起配置這個,因為上次去機房實施的時候發現大部分的服務器都至少有2張網卡插著網線,連接交換機,但是可能他們的ip只有1個,那麼多余的網卡一定就是冗余或者負載均衡之類的。接下來的實驗我們主要用vmware進行
os:centos6.5
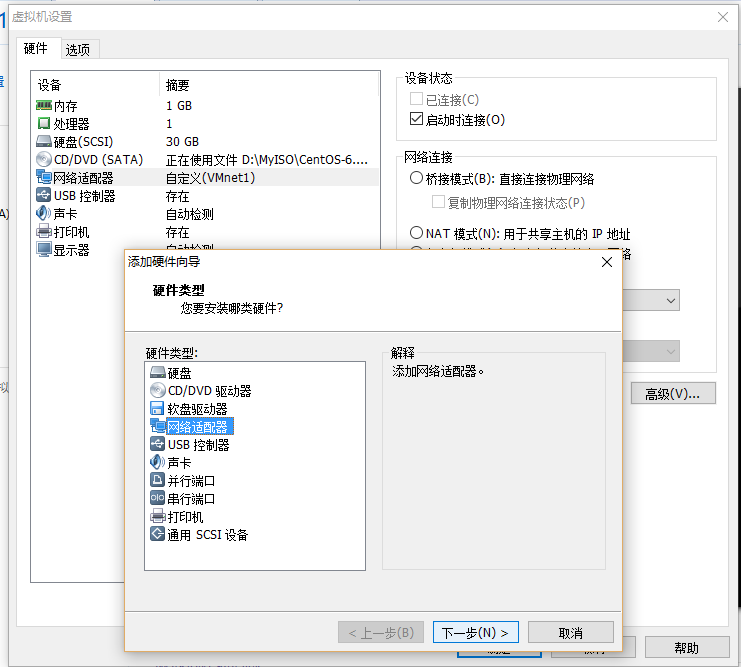
網卡:雙網卡 (我們用vmware添加一張網卡就好了,如下圖,添加的網卡必須為同一網段)
//我原先已經有eth0(192.168.40.10),剛剛添加的eth1,現在的目標是把eth0和eth1配置成slave模式,他們的master網卡bond0我們得給於ip:192.168.40.10,有點像代理網卡的意思。
[root@web1 ~]# ifconfig -a #查看添加的全部的網卡信息,不論有沒有啟用eth0 Link encap:Ethernet HWaddr 00:0C:29:48:7C:E8 inet addr:192.168.40.10 Bcast:192.168.40.255 Mask:255.255.255.0 inet6 addr: fe80::20c:29ff:fe48:7ce8/64 Scope:Link UP BROADCAST RUNNING MULTICAST MTU:1500 Metric:1 RX packets:0 errors:0 dropped:0 overruns:0 frame:0 TX packets:10 errors:0 dropped:0 overruns:0 carrier:0 collisions:0 txqueuelen:1000 RX bytes:0 (0.0 b) TX bytes:636 (636.0 b) Interrupt:19 Base address:0x2024 eth1 Link encap:Ethernet HWaddr 00:0C:29:48:7C:F2 BROADCAST MULTICAST MTU:1500 Metric:1 RX packets:0 errors:0 dropped:0 overruns:0 frame:0 TX packets:0 errors:0 dropped:0 overruns:0 carrier:0 collisions:0 txqueuelen:1000 RX bytes:0 (0.0 b) TX bytes:0 (0.0 b) Interrupt:16 Base address:0x20a4 lo Link encap:Local Loopback inet addr:127.0.0.1 Mask:255.0.0.0 inet6 addr: ::1/128 Scope:Host UP LOOPBACK RUNNING MTU:16436 Metric:1 RX packets:108 errors:0 dropped:0 overruns:0 frame:0 TX packets:108 errors:0 dropped:0 overruns:0 carrier:0 collisions:0 txqueuelen:0 RX bytes:7296 (7.1 KiB) TX bytes:7296 (7.1 KiB)//將網卡的配置文件修改成下面這樣
[root@web1 network-scripts]# cd /etc/sysconfig/network-scripts/ #切到網卡配置文件的目錄下[root@web1 network-scripts]# cat ifcfg-eth0 #實體網卡不需要配置ip地址,DEVICE=eth0TYPE=EthernetONBOOT=yesBOOTPROTO=noneMASTER=bond0 #指定你的master網卡SLAVE=yes #開啟slave模式[root@web1 network-scripts]# cat ifcfg-eth1DEVICE=eth1TYPE=EthernetONBOOT=yesBOOTPROTO=noneMASTER=bond0SLAVE=yes[root@web1 network-scripts]# cat ifcfg-bond0 DEVICE=bond0TYPE=EthernetONBOOT=yesBOOTPROTO=noneIPADDR=192.168.40.10NETMASK=255.255.255.0[root@web1 network-scripts]# vim /etc/modprobe.d/bonding.conf #添加以下2行即可,miimon指定多少ms檢查一次網卡狀態alias bond0 bondingoptions bond0 miimon=120 mode=1//一共有7種mode 0,1,2,3,4,5,6,詳細的可以參考http://support.huawei.com/ecommunity/bbs/10155553.html
mode=0:平衡負載模式,有自動備援,但需要”Switch”支援及設定。 mode=1:自動備援模式,其中一條線若斷線,其他線路將會自動備援。 #常用 mode=6:平衡負載模式,有自動備援,不必”Switch”支援及設定。 #常用
[root@web1 network-scripts]# /etc/init.d/network restart #重啟服務,我沒有開啟NetworkManager,所以只重啟network就可以了正在關閉接口 eth0: /etc/sysconfig/network-scripts/ifdown-eth: line 116: /sys/class/net/bond0/bonding/slaves: 沒有那個文件或目錄 [確定]關閉環回接口: [確定]彈出環回接口: [確定]彈出界面 bond0: Determining if ip address 192.168.40.10 is already in use for device bond0... [確定] #到這裡就成功了[root@web1 network-scripts]# ip a #查詢bond0的ip地址是不是生效了1: lo: <LOOPBACK,UP,LOWER_UP> mtu 16436 qdisc noqueue state UNKNOWN link/loopback 00:00:00:00:00:00 brd 00:00:00:00:00:00 inet 127.0.0.1/8 scope host lo inet6 ::1/128 scope host valid_lft forever preferred_lft forever2: eth0: <BROADCAST,MULTICAST,SLAVE,UP,LOWER_UP> mtu 1500 qdisc pfifo_fast master bond0 state UNKNOWN qlen 1000 link/ether 00:0c:29:48:7c:e8 brd ff:ff:ff:ff:ff:ff3: eth1: <BROADCAST,MULTICAST,SLAVE,UP,LOWER_UP> mtu 1500 qdisc pfifo_fast master bond0 state UNKNOWN qlen 1000 link/ether 00:0c:29:48:7c:e8 brd ff:ff:ff:ff:ff:ff4: bond0: <BROADCAST,MULTICAST,MASTER,UP,LOWER_UP> mtu 1500 qdisc noqueue state UP link/ether 00:0c:29:48:7c:e8 brd ff:ff:ff:ff:ff:ff inet 192.168.40.10/24 brd 192.168.40.255 scope global bond0 inet6 fe80::20c:29ff:fe48:7ce8/64 scope link tentative dadfailed valid_lft forever preferred_lft forever[root@web1 network-scripts]# netstat -i #可以查看網卡的流量Kernel Interface tableIface MTU Met RX-OK RX-ERR RX-DRP RX-OVR TX-OK TX-ERR TX-DRP TX-OVR Flgbond0 1500 0 43 0 0 0 17 0 0 0 BMmRUeth0 1500 0 32 0 0 0 14 0 0 0 BMsRUeth1 1500 0 11 0 0 0 3 0 0 0 BMsRUlo 16436 0 148 0 0 0 148 0 0 0 LRU//大功告成http://xxxxxx/Linuxjc/1134112.html TechArticle