


ProjectSend is an Open Source web file and image sharing tool for professionals that solve the issue of sharing files between a company and its clients. ProjectSend provides an easy and secure multi-file uploading and unlimited file size on ANY server! Even on common hostings shared accounts.It is basically a clients-oriented file uploading utility where the clients are created and assigned a username and a password. Then you can upload as much files as you want under each account, with the ability to add a title and description to each one. When the client logs in, you will see a web page that contains your company logo, and a sortable list of every file uploaded under your name, with description, time, date, etc. It also works as a history of "sent" files. You can check the differences between versions, the time that it took to do that, and so on. Additional benefits of using ProjectSend include saving hundreds of mb. on email accounts since every file remains on your server until you decide to delete it, and they can be accessed from any browser anywhere.
Let's follow the instructions to install and use ProjectSend on CentOS 7 server with LAMP stack.
Connect to your Linux CentOS 7 server using your root user credentials and after setting up the fully qualified domain name of your server, run the following command to update/upgrade your server with updates, security patches and latest kernel release.
# yum -y upgrade
Now you have an updated system ready for the installation of required packages for ProjectSend application setup. You need to setup the LAMP (Linux Apache MySQL PHP) stack as a prerequisite of ProjectSend.
Installing Apache
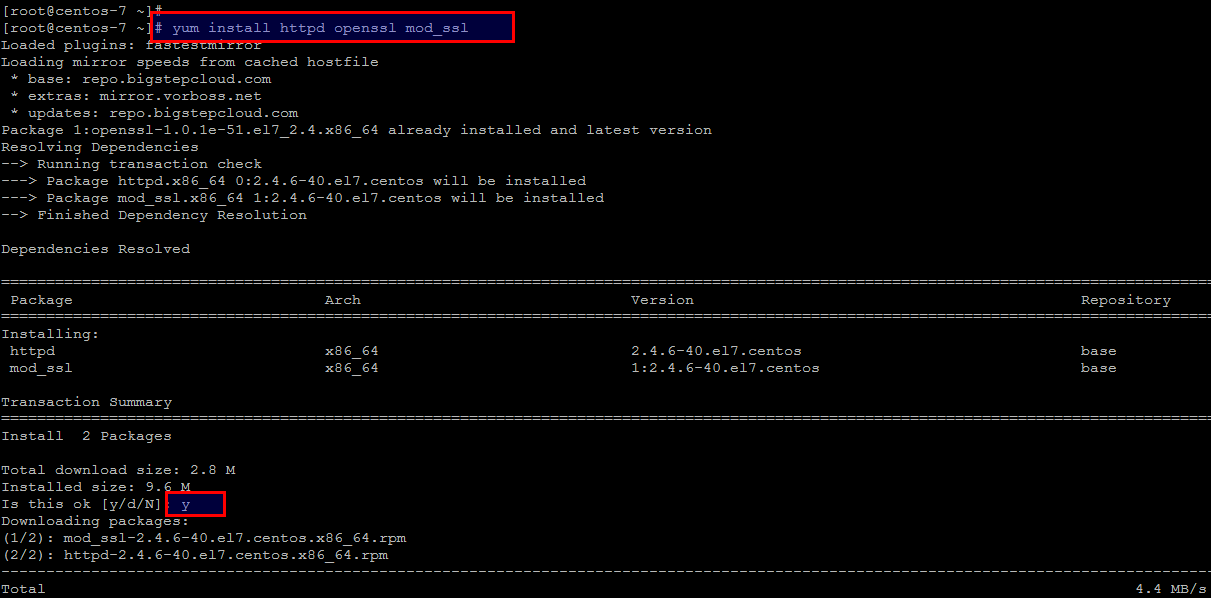
Run the following command to install Apache Web server on CentOS 7.
# yum install httpd openssl mod_ssl
Once installed, start its services and enable it start at boot.
# systemctl start httpd
# systemctl enable httpd
You can verify by opening your favorite web browser and entering the IP address of your server in the URL, you should get a “Testing 123″ page .
Installing MySQL-MariaDB
MariaDB is a replacement for MySQL, that is a robust, scalable and reliable SQL server that comes rich set of enhancements. We will be using 'yum' command to install MariaDB as shown.
# yum install mariadb mariadb-server

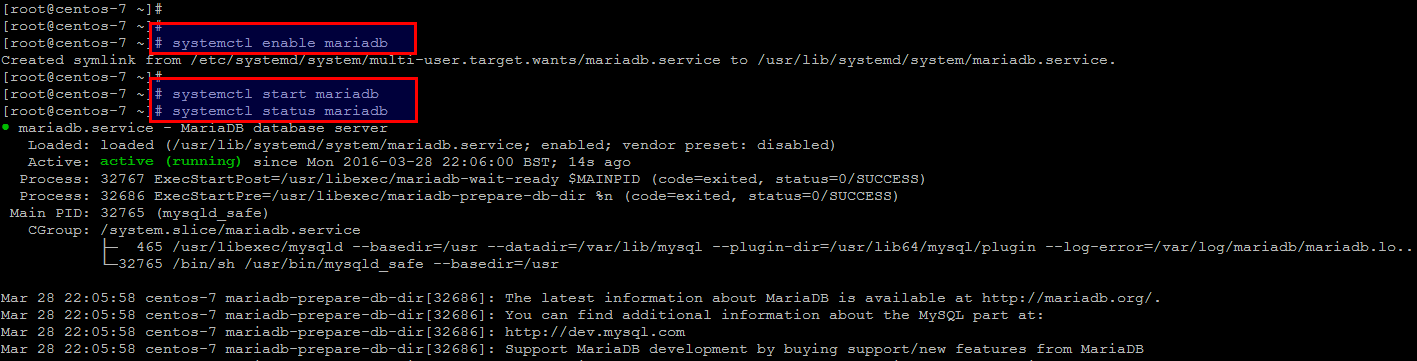
To start and enable MariaDB active services on your system run the following commands.
# systemctl enable mariadb
# systemctl start mariadb
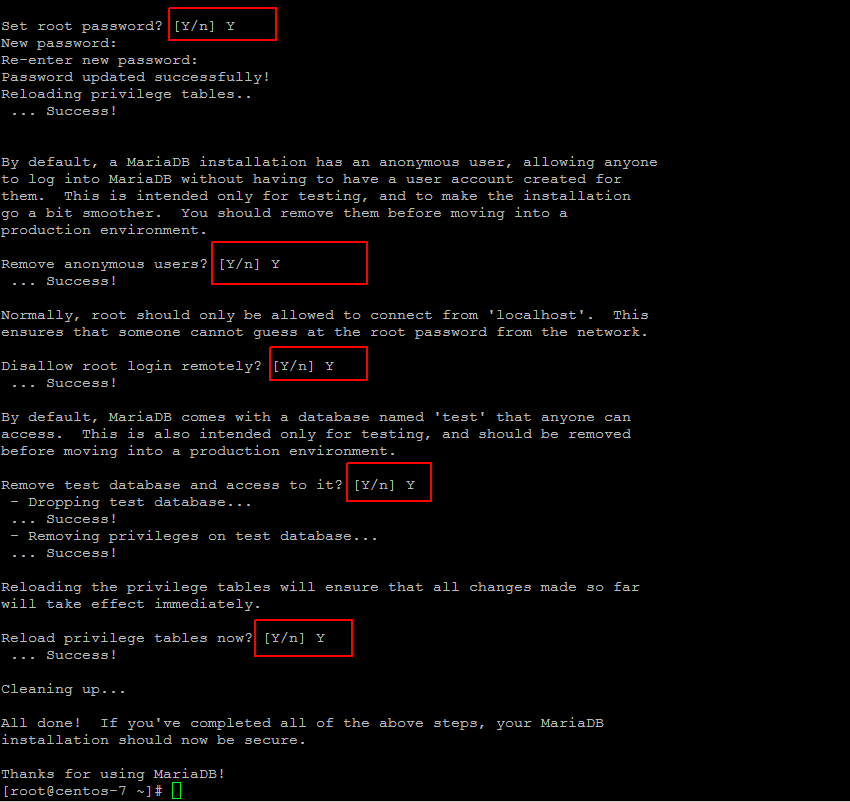
By default, MariaDB is not hardened. You can secure MariaDB using the 'mysql_secure_installation' script by choosing the appropriate options as shown .
# mysql_secure_installation
/usr/bin/mysql_secure_installation: line 379: find_mysql_client: command not found
NOTE: RUNNING ALL PARTS OF THIS SCRIPT IS RECOMMENDED FOR ALL MariaDB
SERVERS IN PRODUCTION USE! PLEASE READ EACH STEP CAREFULLY!In order to log into MariaDB to secure it, we'll need the current
password for the root user. If you've just installed MariaDB, and
you haven't set the root password yet, the password will be blank,
so you should just press enter here.Enter current password for root (enter for none):
OK, successfully used password, moving on...
Installing PHP and its Modules
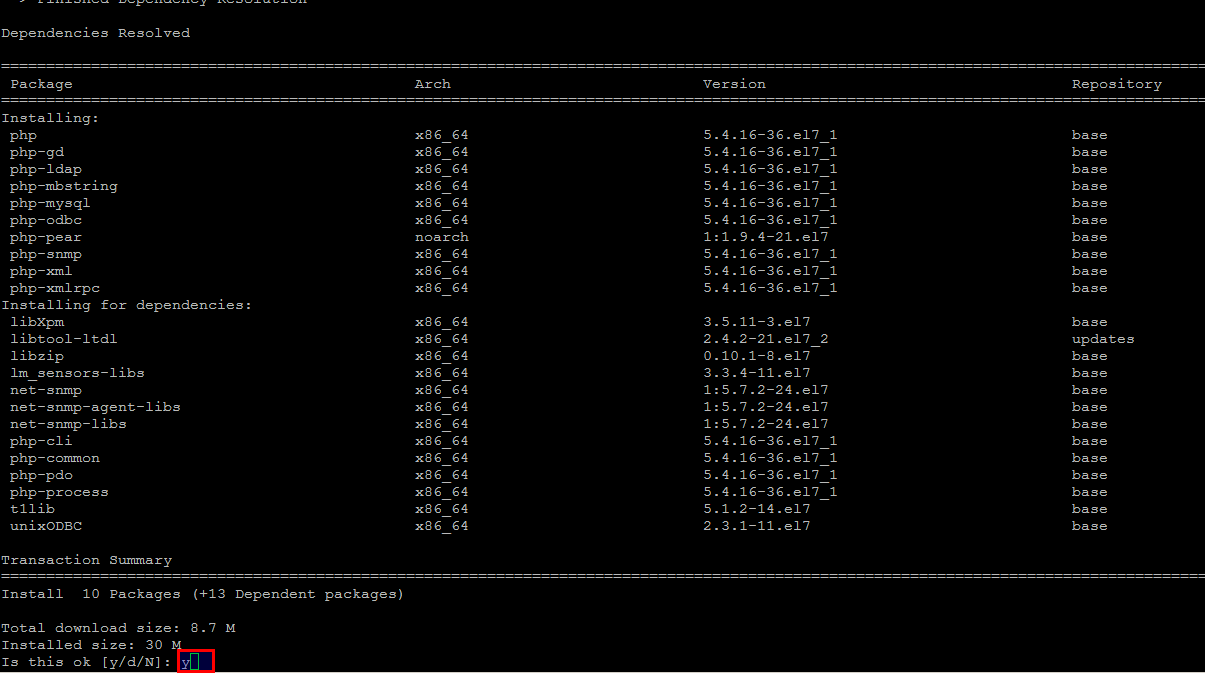
Run the command below to install PHP along with its necessary modules required for PrejectSend on CentOS 7.
]# yum install php php-mysql php-gd php-ldap php-odbc php-pear php-xml php-xmlrpc php-mbstring php-snmp php-mcrypt
After completing the LAMP installation setup , now we are moving towards the installation of ProjectSend Application on our CentOS 7 Server. To download its package go to the ProjectSend Download Page.
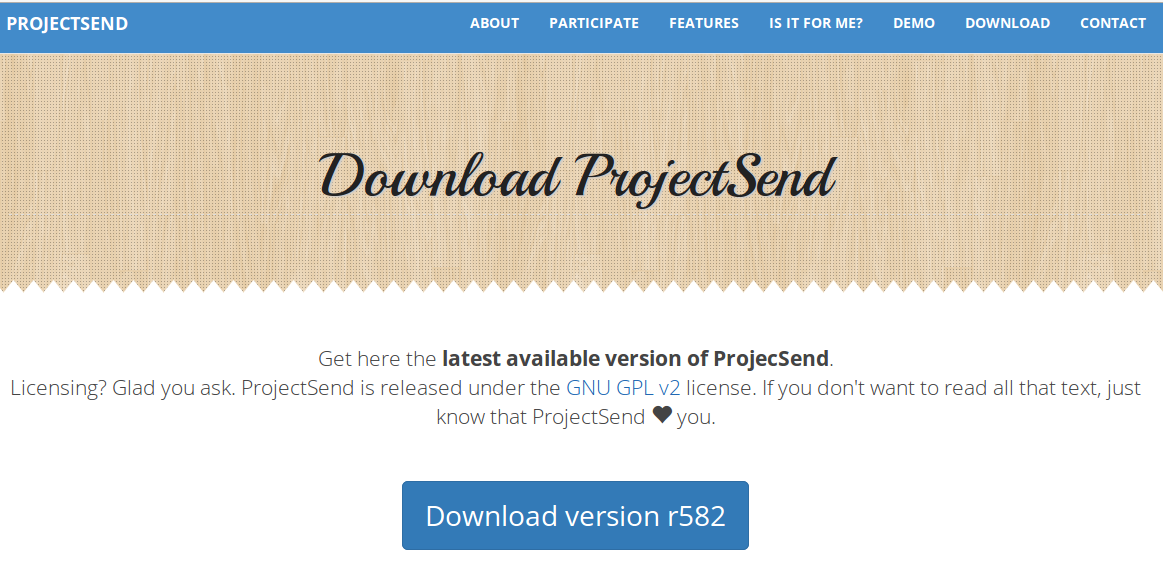
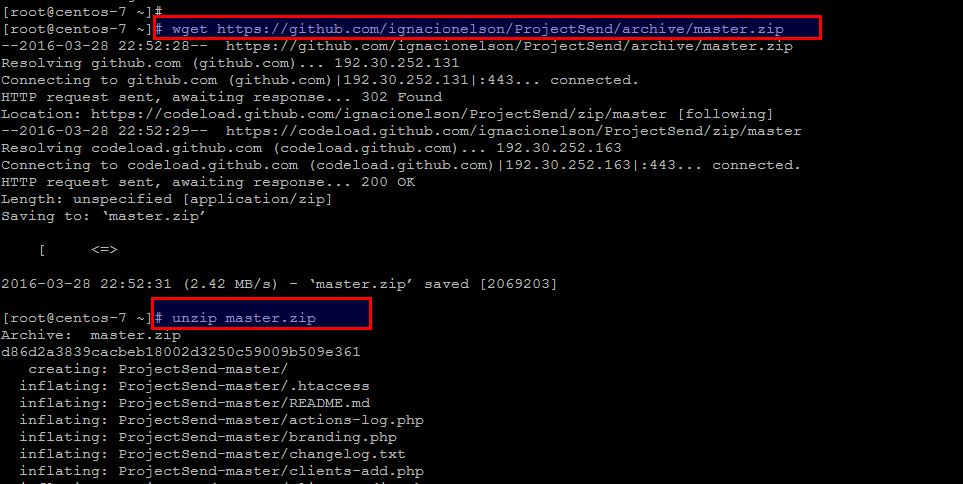
You can also get its packages using 'wget' utility command on your server and then extract it with 'unzip' command. Make sure that you have 'wget' and 'unzip' package installed on your server to run below commands.
# wget https://github.com/ignacionelson/ProjectSend/archive/master.zip
# unzip master.zip
Now move the ProjectSend archive to the document root directory of your web server using below command.
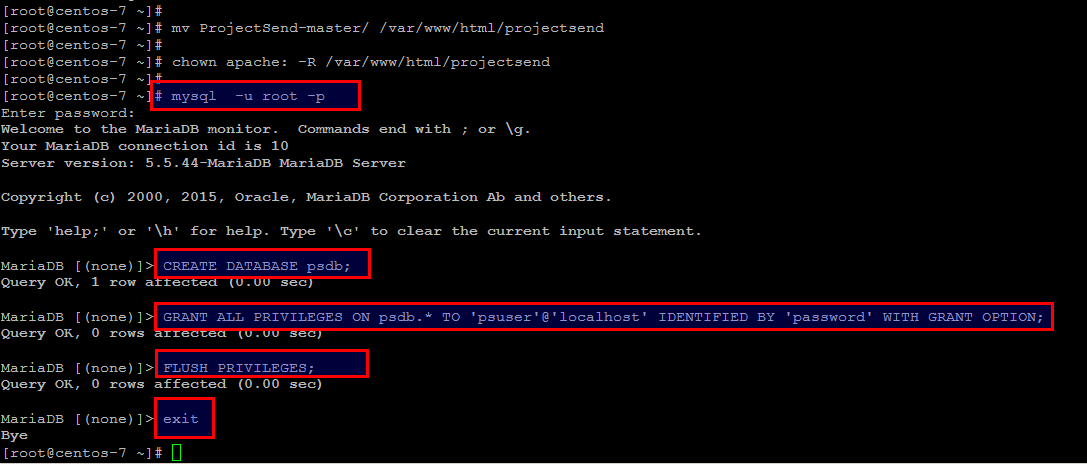
# mv ProjectSend-master/ /var/www/html/projectsend
Change the ownership of 'projectsend' folder with apache using command below.
# chown apache: -R /var/www/html/projectsend
In this step we are going to log in to the MariaDB console and create a database for the ProjectSend by running the following commands and providing the root user credentials that we had setup earlier.
# mysql -u root -p
> CREATE DATABASE psdb;
> GRANT ALL PRIVILEGES ON psdb.* TO 'psuser'@'localhost' IDENTIFIED BY 'password' WITH GRANT OPTION;
> FLUSH PRIVILEGES;
> exit;
In order to configure your ProjectSend configurations, you need to rename the ‘sys.config.sample.php’ file to ‘sys.config.php’ into the following directory with 'mv' command. Then open this in your editor to configure its parameters.
# cd /var/www/html/projectsend/includes
# mv sys.config.sample.php sys.config.php
# vi sys.config.php

Change the configurations to match your database settings and the close file after saving changes.
/**
* Enter your database connection information here
* If you have doubts about this values, consult your web hosting provider.
*//** MySQL database name */
define('DB_NAME', 'database');/** Database host (in most cases it's localhost) */
define('DB_HOST', 'localhost');/** MySQL username (must be assigned to the database) */
define('DB_USER', 'username');/** MySQL password */
define('DB_PASSWORD', 'password');/**
* Prefix for the tables. Set to something other than tbl_ for increased
* security onr in case you want more than 1 installations on the same database.
*/
define('TABLES_PREFIX', 'tbl_');/*
Configure your default configuration file of Apache web server according to your current document root directory where you have placed its setup by opening file in your editor.
# vim /etc/httpd/conf/httpd.conf
DocumentRoot "/var/www/html/projectsend"
# Relax access to content within /var/www.
<Directory "/var/www/html">
AllowOverride None
# Allow open access:
Require all granted# Further relax access to the default document root:
<Directory "/var/www/html/projectsend">
Save and close the file and restart your Apache and MariaDB services with below commands.
# systemctl restart httpd
# systemctl restart mariadb
Our installation is almost done, now before accessing the ProjectSend in the web browser make usre to allow the respective services/ports allowed in your firewall. Let's run the following commands to open below ports in firewall of your system.
# firewall-cmd --permanent --zone=public --add-service=http
# firewall-cmd --reload
Change the SELinux state to Permissive mode for th time being with following command later on you can configure its policy if required.
# setenforce 0
Now its time open your web browser ans access the web console of ProjectSend using your FQDN or Server's IP address on default port '80'.
http://your_servers_ip/
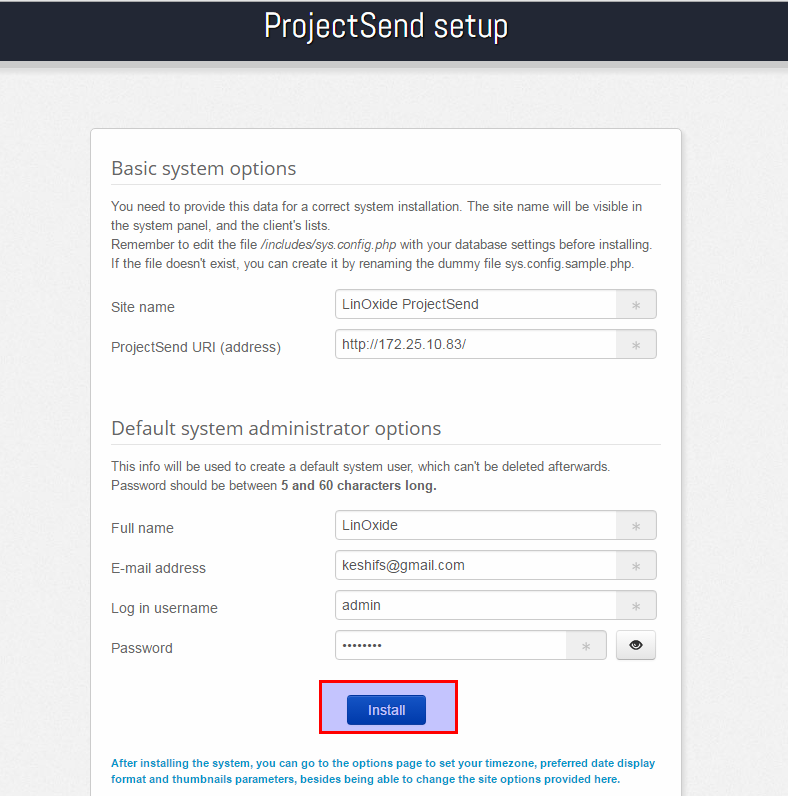
Configure the Basic System and default system administration options, then click on the Install button to proceed.
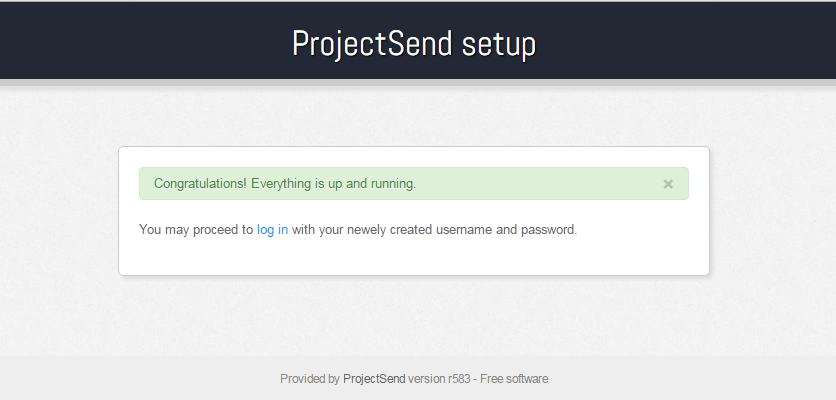
Once, everything is fine you will get the below window to congratulate upon successful installation of ProjectSend.
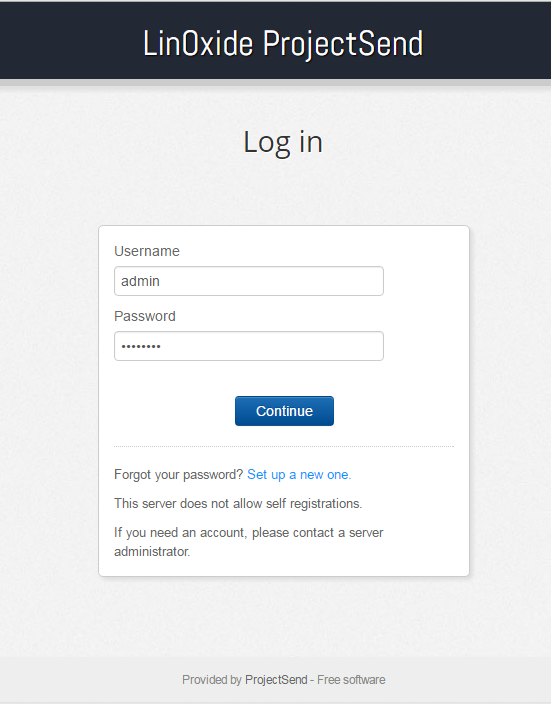
After basic system settings of ProjectSend Web, let login using your admin username and password to start using ProjectSend File sharing application.
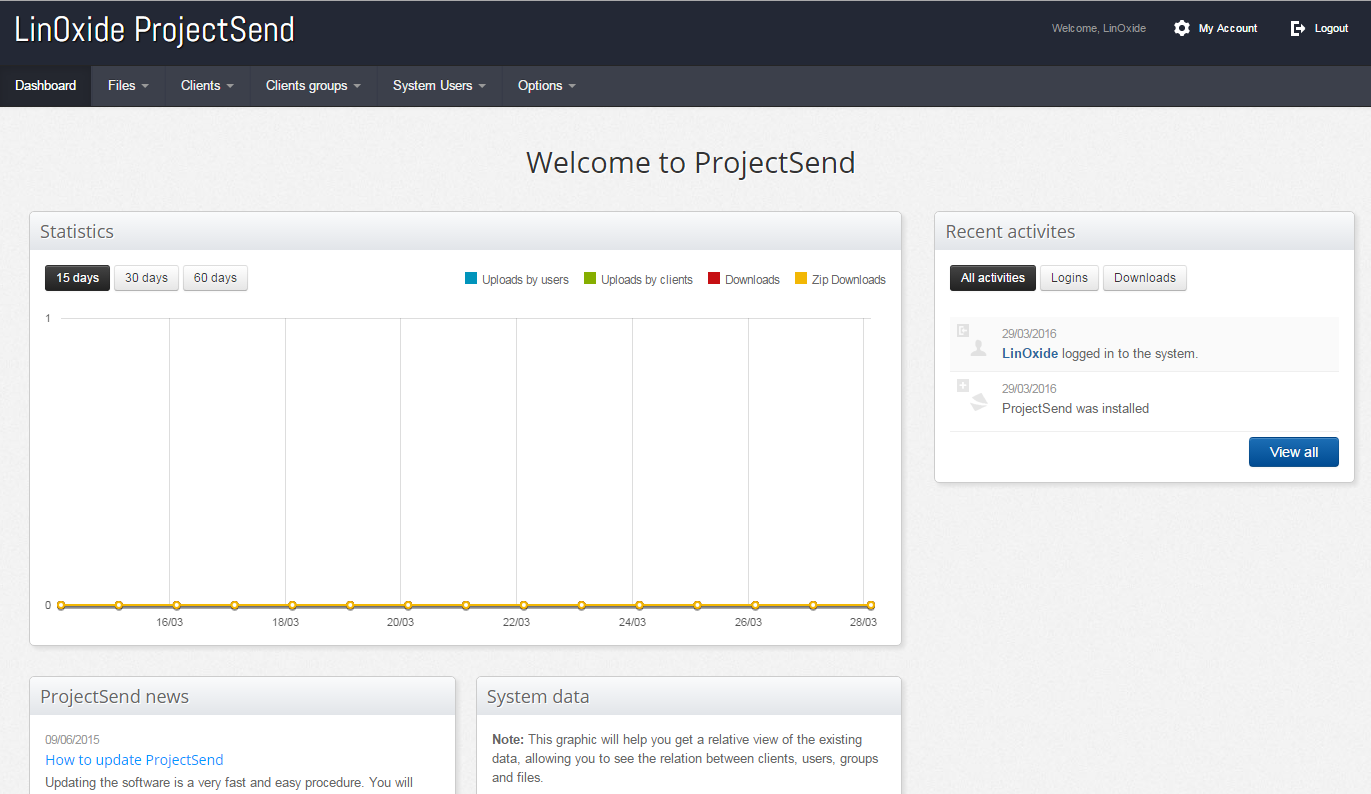
Welcome to the ProjectSend dashboard, Here you can see the stats about all of your file and images .
Now, in order start uploading your files and share with your clients, fisrt you need to add your client and then click on the File bar and choose the 'upload button from the drop down to add add and then upload your files.
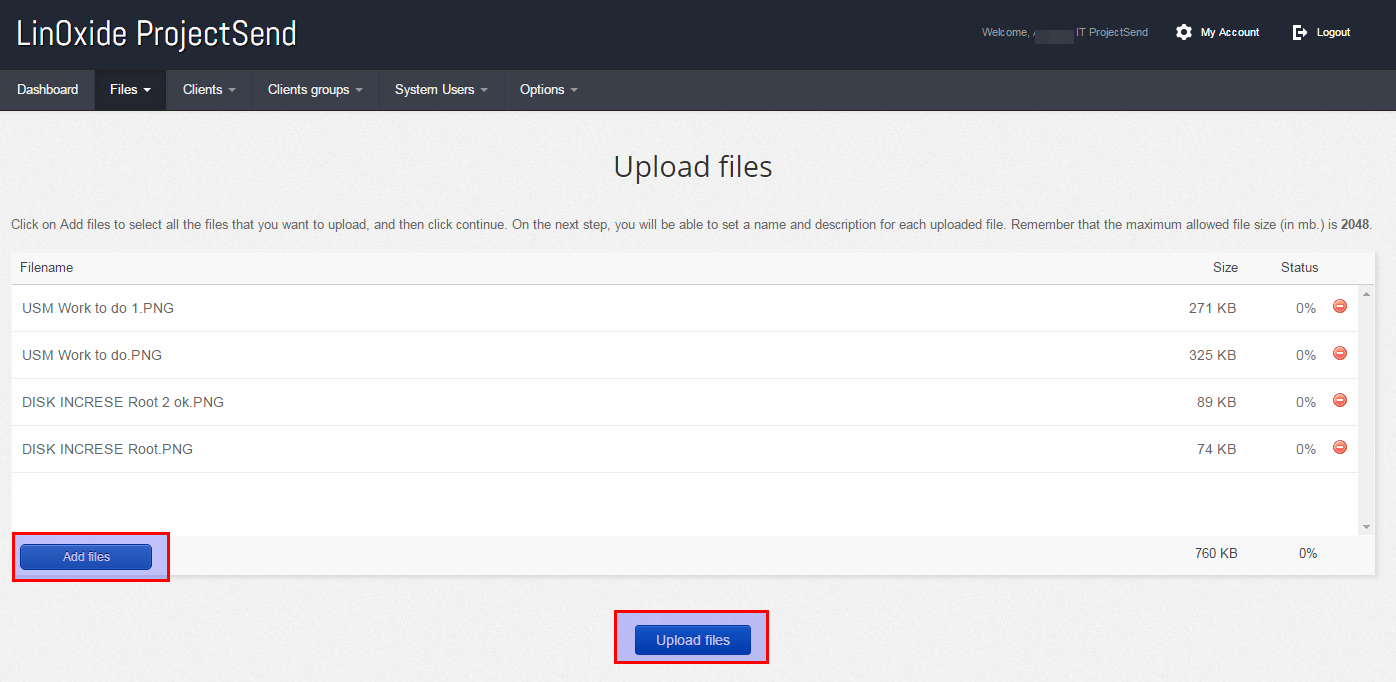
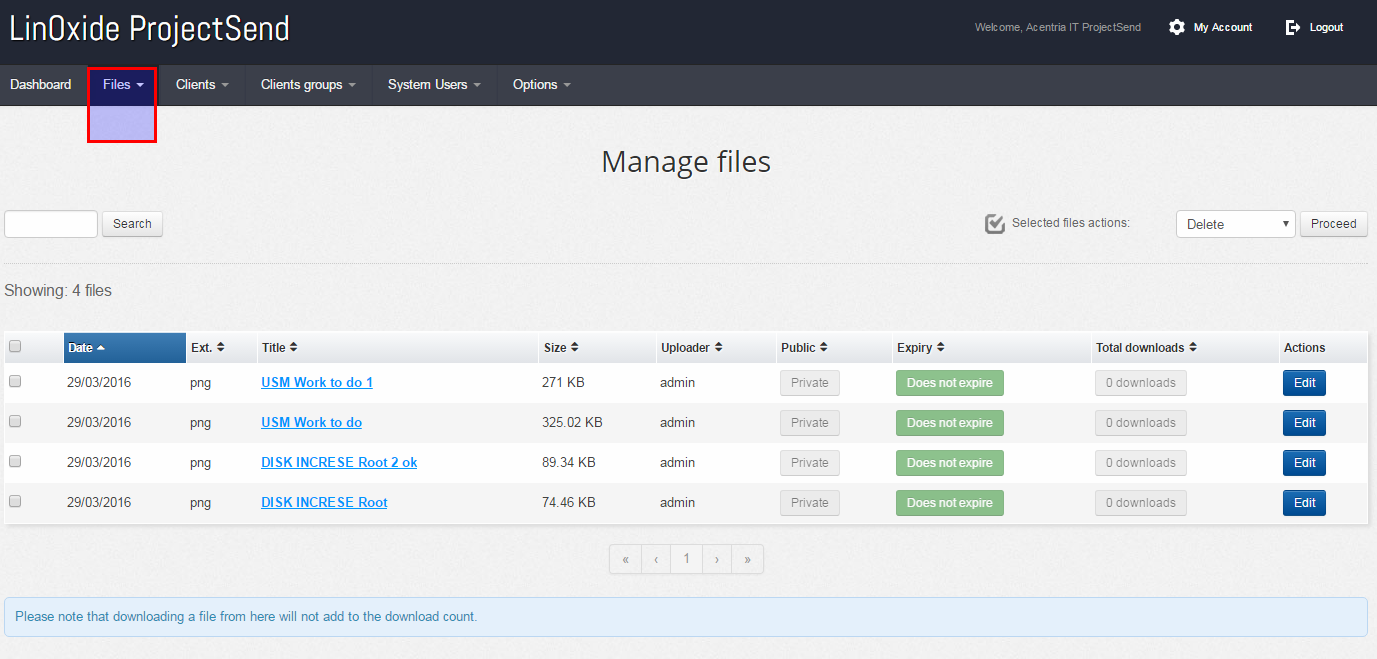
After uploading your files, you can choose the particular client to whom you want to share. To check the status and manage your uploaded files click on the 'Manage Files' option under the Files bar as shown below.
Thank for reading this post and let's start using it to enjoy the awesome features of ProjectSend.You can create new users as many you want, upload files, create groups etc from this Dashboard. Hope you have enjoyed this, don't forget to share your comments and suggestions.