


Kubuntu is a user friendly operating system based on KDE, the K Desktop Environment. With a predictable 6 month release cycle and part of the Ubuntu project, Kubuntu is the GNU/Linux distribution for everyone.
Kubuntu is an entirely open source operating system built around the Linux kernel. The Kubuntu community is built around the ideals enshrined in the Ubuntu Philosophy: that software should be available free of charge, that software tools should be usable by people in their local language and despite any disabilities, and that people should have the freedom to customize and alter their software in whatever way they see fit.
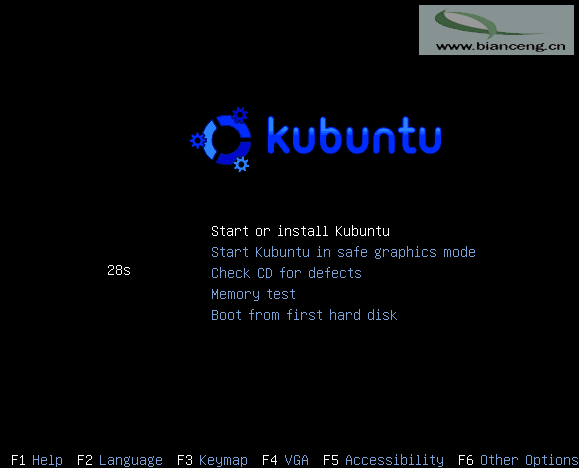
If you want to download Kubuntu click here . Afte downloading .iso image from the download link you need to burn a CD after that you need to boot from your kubuntu cd you should see the following screen in this screen select “start or install kubuntu” and press enter.
Now you can see on next screen kubuntu cd is loading

Now your next screen is kubuntu initializing

After loading complete desktop you can see the screen including the two icons like below.Now if you want to install kubuntu just click on install icon on your desktop.

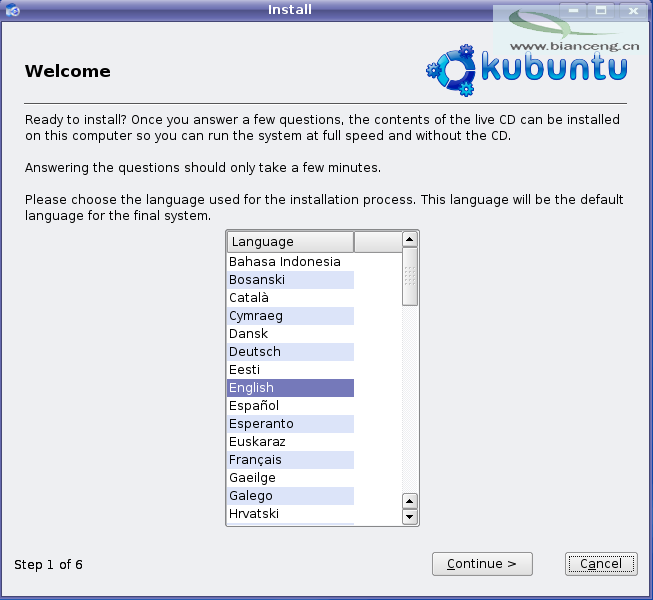
Now you need to select you installation language in this i have selected english and press continue
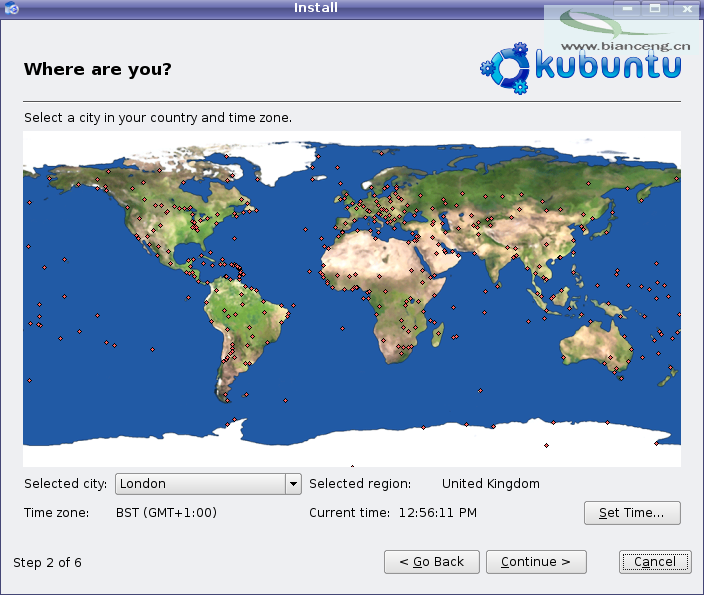
Next step is you need to select your country and time zone in this i have selected uk as country and london time zone and press continue
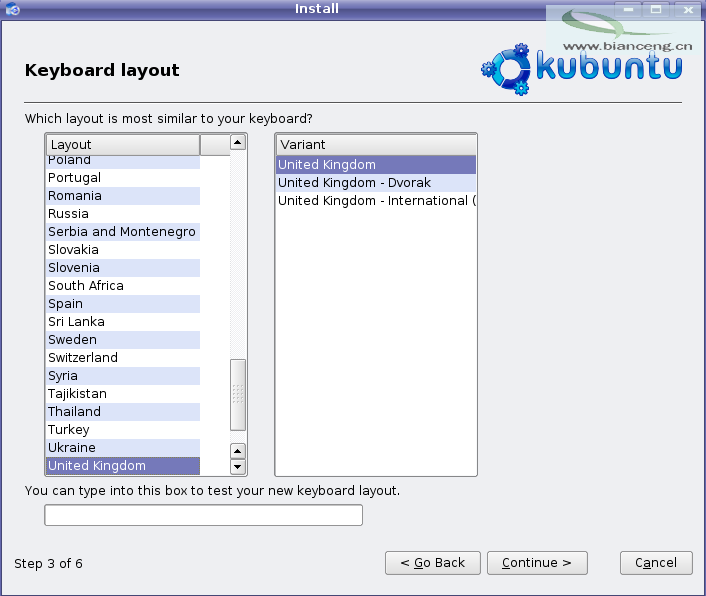
Now you need to select your keyboard language here i have selected United Kingdom and press continue
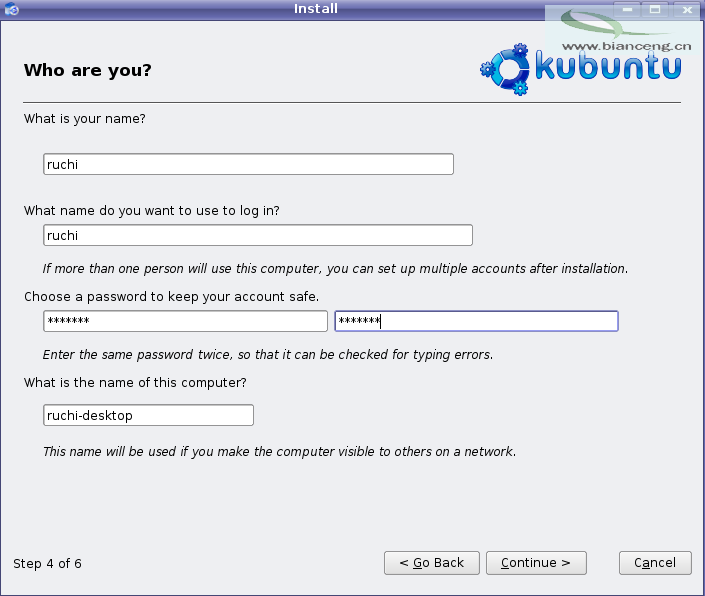
Now you need to create user and assign the hostname for your computer and press continue
Here you can see Hard Disks initializing

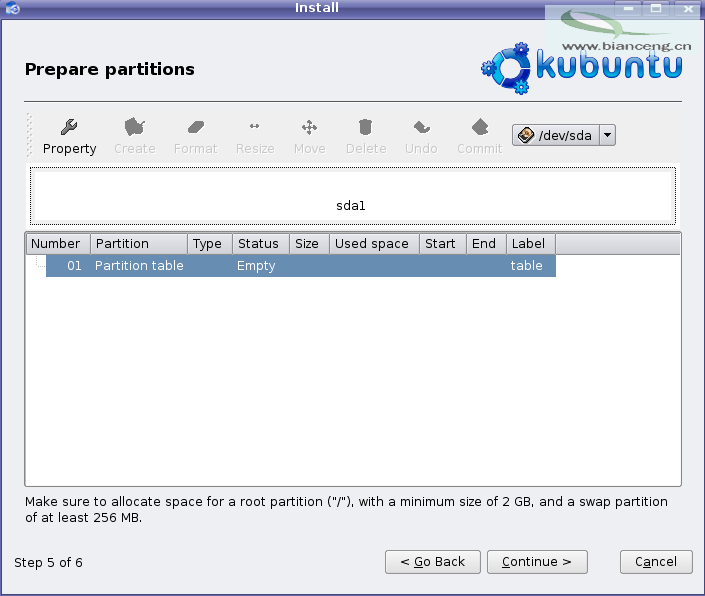
Now you need to select how you want to partition your hard disk.In this example i am selecting “manually edit partition table” and click on forward

Now you can See the following screen with the disks available in your machine here you need to create partitions for this you need to select the available freespace and in this example you can see the 8GB of space for this installation here i am going create a partitions you need to right click and select create partition table.
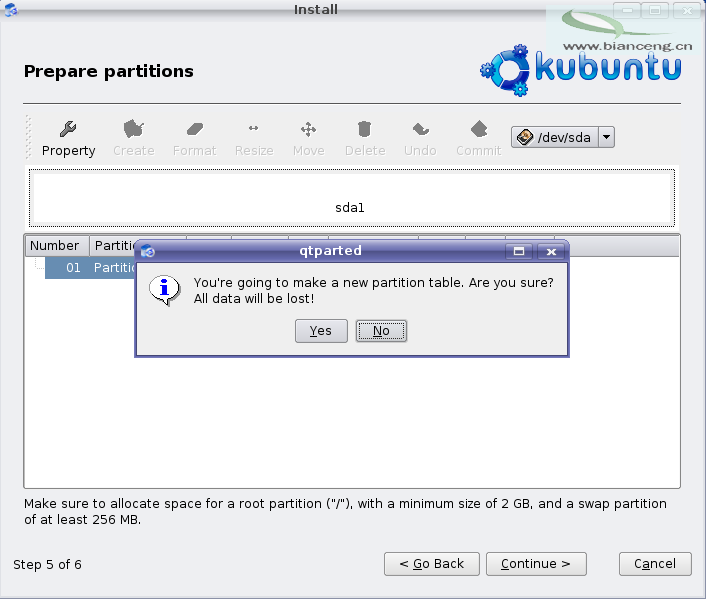
Now you can see the following screen asking for your confirmation to create partition table click yes
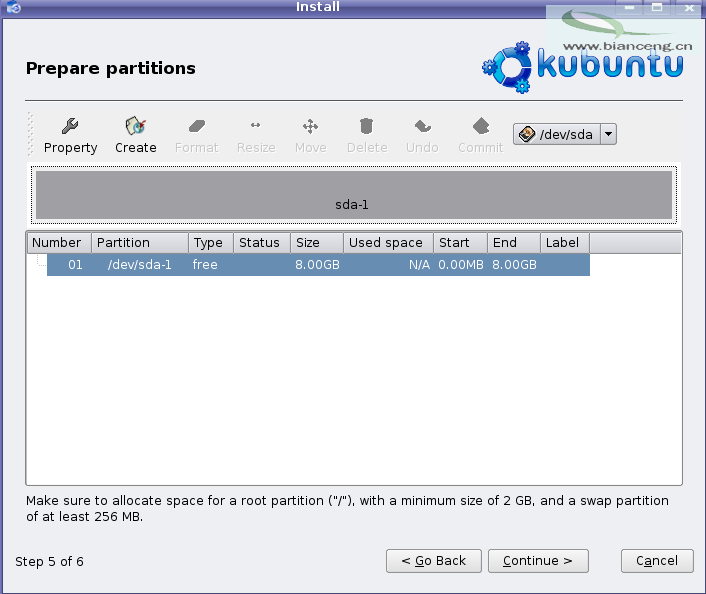
Now you should see the following screen with the available space now you need to create a partitions by cliking on create button at the top of the menu
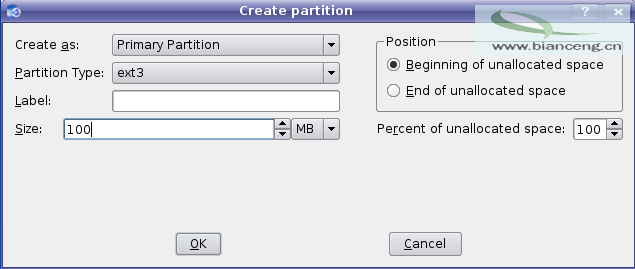
Now you can see the following screen here you can select new size,partition type and click on add.In this example i am entering size as 100 mb and partition type as ext3 and click on ok
Now you need to create another partition using the available space and click ok

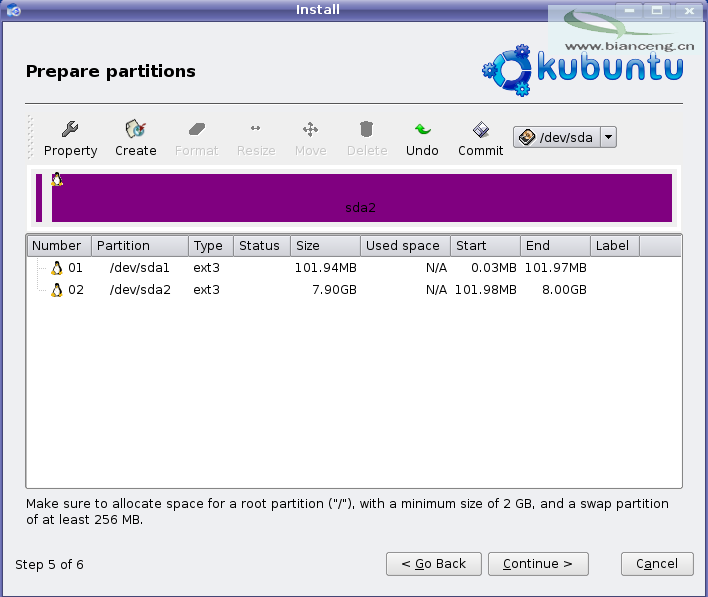
Here you can see the two created partitions and click on forward
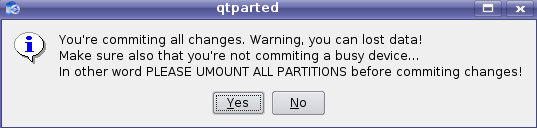
Confirm the commit changes to your hard disk by clicking on yes
Now you can see the completed changes successfully and click on ok

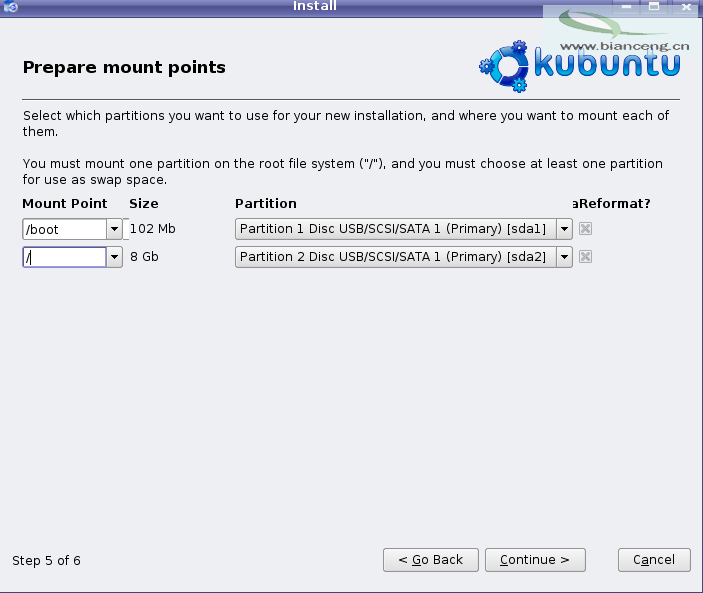
Here you need to create a mount points by selecting mount point and partition and click on continue
Collecting all the required information for installation in progress
Here is the all the list of information for available for installation here you need to click on install to start the installation.

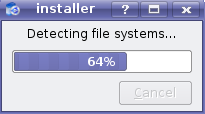
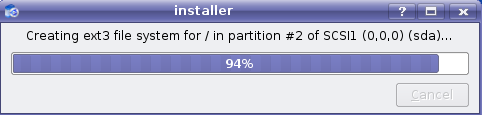
Creating filesystem in progress
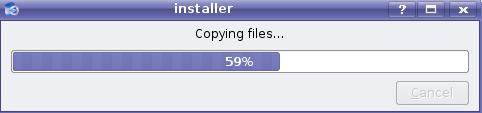
Installation in progress and it shows the copying files percentage.
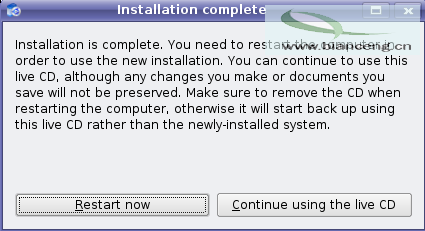
Installation Completed Succesfully and you need to restart the system by clicking “Restart Now”
Network Configuration in Kubuntu
Most ethernet configuration is centralized in a single file, /etc/network/interfaces. If you have no ethernet devices, only the loopback interface will appear in this file, and it will look something like this:
# This file describes the network interfaces available on your system
# and how to activate them. For more information, see interfaces(5).
# The loopback network interface
auto lo
iface lo inet loopback
address 127.0.0.1
netmask 255.0.0.0
If you have only one ethernet device, eth0, and it gets its configuration from a DHCP server, and it should come up automatically at boot, only two additional lines are required:
auto eth0
iface eth0 inet dhcp
The first line specifies that the eth0 device should come up automatically when you boot. The second line means that interface (“iface”) eth0 should have an IPv4 address space (replace “inet” with “inet6” for an IPv6 device) and that it should get its configuration automatically from DHCP. Assuming your network and DHCP server are properly configured, this machine’s network should need no further configuration to operate properly. The DHCP server will provide the default gateway (implemented via the route command), the device’s IP address (implemented via the ifconfig command), and and DNS servers used on the network (implemented in the /etc/resolv.conf file.)
To configure your ethernet device with a static IP address and custom configuration, some more information will be required. Suppose you want to assign the IP address 192.168.0.2 to the device eth1, with the typical netmask of 255.255.255.0. Your default gateway’s IP address is 192.168.0.1. You would enter something like this into /etc/network/interfaces:
iface eth1 inet static
address 192.168.0.2
netmask 255.255.255.0
gateway 192.168.0.1
In this case, you will need to specify your DNS servers manually in /etc/resolv.conf, which should look something like this:
search mydomain.com
nameserver 192.168.0.1
nameserver 4.2.2.2
The search directive will append mydomain.com to hostname queries in an attempt to resolve names to your network. For example, if your network’s domain is mydomain.com and you try to ping the host “mybox”, the DNS query will be modified to “mybox.mydomain.com” for resolution. The nameserver directives specifiy DNS servers to be used to resolve hostnames to IP addresses. If you use your own nameserver, enter it here. Otherwise, ask your Internet Service Provider for the primary and secondary DNS servers to use, and enter them into /etc/resolv.conf as shown above.