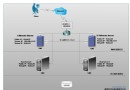
環境說明
Cisco防火牆地址
inside口:10.10.0.1
outside口:123.*.*.*
DMZ口:172.*.*.*
Cisco核心交換機
總出口10.10.0.2
squid:10.10.0.3
防火牆、交換機、squid通過交換機連接
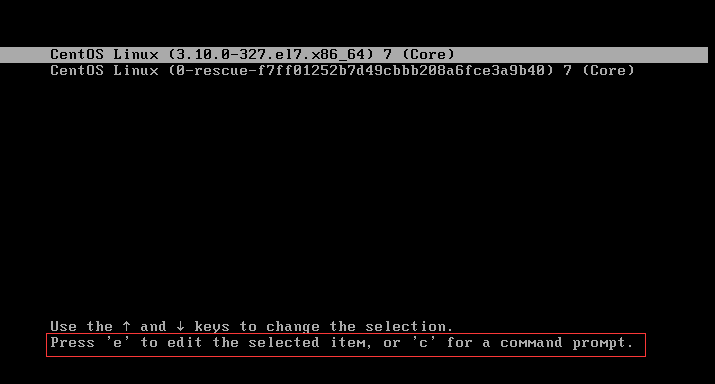
1.安裝Ubuntu
hostname:proxy
ip:10.6.1.3 gateway:10.6.1.2 netmask:255.255.255.0 broadcast:10.6.1.255
2.修改root密碼
設置root密碼:sudo passwd root
3.取消squid版本信息
/src/errorpage.c 文件在以下地方修改
} error_hard_text[] = {
{
ERR_SQUID_SIGNATURE,
"\n<BR clear=\"all\">\n"
"<HR noshade size=\"1px\">\n"
"<ADDRESS>\n"
"Generated %T by %h (%s)\n" #將%s修改即可,%t為當前時間
"</ADDRESS>\n" #%h 為主機名稱
"</BODY></HTML>\n"
}
4.編譯:
apt-get source squid
./configure --prefix=/usr/ --localstatedir=/var/squid --sysconfdir=/etc/squid --enable-cache-digests --enable-delay-pools --enable-forward-log --enable-async-io --enable-dlmalloc --enable-arp-acl --enable-linux-netfilter --disable-hostname-checks --enable-underscores --enable-auth --enable-icmp --enable-htcp
安裝後文件位置:
/usr/squid 主目錄
/usr/ sbin/squid 執行文件
/etc/squid/squid.conf 配置文件
/var/squid/logs 日志
/var/squid/cache 自己建立的cache
5.配置squid
mkdir /var/ squid/cache #給squid創建 cache目錄
chown –R proxy:proxy /var/squid #更改/var/squid目錄的所有者為proxy
/usr /sbin/squid –z #生成交換文件目錄
squid 啟動squid
修改配置文件:
cd /etc/squid/
rm squid.conf
vi squid.conf
將下邊的內容復制到squid.conf裡
access_log /var/squid/logs/access.log squid
cache_store_log /var/squid/logs/store.log
cache_log /var/squid/logs/cache.log
acl all src 0.0.0.0/0.0.0.0
acl internal dstdomain “/etc/squid/internal.acl“ #定義acl
http_port 3128 transparent
http_access allow all
wccp2_router 10.6.1.1 #指定防火牆的地址
wccp2_rebuild_wait on
wccp2_forwarding_method 1
wccp2_return_method 1
wccp2_assignment_method 1
wccp2_service standard 0
cache_mem 4096 MB
cache_dir ufs /var/squid/cache 10240 16 256
cache_effective_user proxy
error_directory /usr/share/errors/no
cache_mgr **@*** #設置錯誤提示頁面中管理員的郵件地址
forwarded_for off #不顯示客戶端私有IP
logfile_rotate 3 #日志輪回,保存輪回幾次的日志
memory_pools on #讓squid自動分配內存
memory_pools_limit none #不做上限限制
cache_swap_low 85
cache_swap_high 95
no_cache deny internal #對於acl internal中的域名不緩存