linux安裝大致可以分為2個階段
第一階段:anaconda 階段
此階段是linux的預安裝環境,提供linux安裝選項的一個接口,可以將它比作是window中的PE環境
第二階段:install 階段
該階段系統會按照anaconda 階段設定的參數自動安裝
anaconda有兩種模式:
交互式:和普通安裝一樣,按照提示選擇選項一步步的安裝
非交互式:通過讀取kickstart文件的配置,進行自動安裝
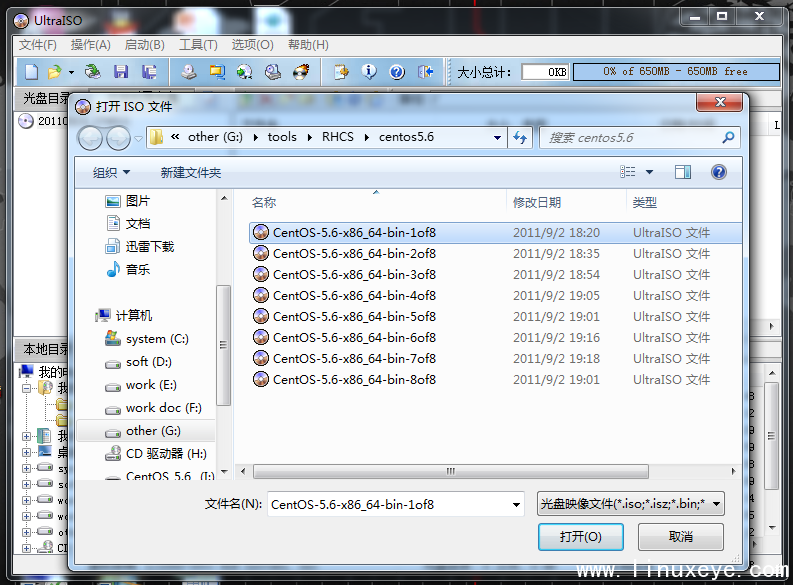
而在安裝linux過程中,獲取ks.cfg文件的方式有多種,如直接在cdrom中獲取,常見的形式還有http,ftp,nfs等方式
cdrom和硬盤:
ks=cdrom:/dir/ks.cfg
ks=hd:/dir/ks.cfg
http和ftp:
ks=http://domain.com/dir/ks.cfg
ks=ftp://domain.com/dir/ks.cfg
NFS:
ks=nfs:domain.com:/dir/ks.cfg
在使用ks.cfg之前,需要先引導啟動環境,引導方式有cdrom、usb、PXE等。在引導進入anaconda後,即可通過讀取ks.cfg來進行系統的自動安裝 ks.cfg文件會在安裝linux後,根據用戶的安裝選項自動生成在root家目錄,即anaconda_ks.cfg ks.cfg文件組成大致分為3段
1.命令段:
鍵盤類型,語言,安裝方式等系統的配置,有必選項和可選項,如果缺少某項必選項,安裝時會中斷並提示用戶選擇此項的選項
2.軟件包段:
%packages
@groupname #指定安裝的包組
package_name #指定安裝的包
-package_name #指定不安裝的包
3.腳本段(可選):
%pre :預安裝腳本 (由於只依賴於啟動鏡像,支持的命令很少)
%post:後安裝腳本(基本支持所有命令)
更多關於Anaconda Kickstart的內容請看:http://fedoraproject.org/wiki/Anaconda/Kickstart
- [root@rhel6 ~]# cat /var/ftp/pub/ks.cfg
- ######################################################################
- ############## 1 Main Begin
- ############## 1.1 Text,Key,Keyboard,Lang,Net Begin
- ######################################################################
- # platform=x86, AMD64, 或 Intel EM64T # 通過文本界面進行安裝
- text
- # 安裝/升級
- install
- # 如果是RHEL5的系統,會要求輸入key,這裡配置為跳過,如果不配置安裝時會停在那裡要求用戶輸入key
- key--skip
- # 安裝方式(cdrom/hdisk/http/ftp/nfs),指定安裝源的路徑
- nfs --server=192.168.0.90 --dir=/var/ftp/pub
- lang en_US.UTF-8
- keyboard us
- # 通過DHCP獲取IP地址
- network --bootproto dhcp
- ######################################################################
- ############## 1.1 Text,Key,Keyborad,Lang,Net End
- ############## 1.2 Partition Begin
- ######################################################################
- # Partition 10000M
- %include /tmp/partitioning
- ######################################################################
- ############## 1.2 Partition End
- ############## 1.3 Timezone,X,passwd,security,bootloader Begin
- ######################################################################
- timezone --utc Asia/Shanghai
- graphical
- # 設置root用戶的密碼
- rootpw RedHat
- # 禁用防火牆
- firewall --disabled
- authconfig --useshadow --passalgo=md5
- # 激活SELINUX
- selinux --enforcing
- # 首次引導時,禁用設置代理
- firstboot --disable
- # 安裝Grub到MBR
- bootloader --location=mbr
- # 安裝完成後重啟
- reboot
- ######################################################################
- ############## 1.3 Timezone,X,passwd,security,bootloader End
- ############## 1 Main End
- ############## 2 Packages Begin
- ######################################################################
- %packages
- # 安裝軟件包組
- @Base
- @Core
- @basic-desktop
- @desktop-debugging
- @desktop-platform
- @fonts
- @general-desktop
- @graphical-admin-tools
- @input-methods
- @legacy-x
- @remote-desktop-clients
- @x11
- # 安裝軟件包
- coreutils
- elfutils
- elfutils-libelf
- elinks
- enscript
- firefox
- gcc
- gimp
- gimp-data-extras
- gimp-print-plugin
- gnome-icon-theme
- gstreamer
- gstreamer-tools
- libIDL
- libcap
- libgsf
- libraw1394
- mutt
- nautilus-cd-burner
- ntp
- openmotif
- openssh
- openssh-clients
- openssh-server
- pyorbit
- samba-client
- samba-common
- startup-notification
- ttmkfdir
- vim-enhanced
- vnc
- %end
- ######################################################################
- ############## 2 Packages End
- ############## 3 Post Begin
- ############## Network Begin
- ######################################################################
- %post
- # 固定安裝後系統的IP地址
- cat > /etc/sysconfig/network-scripts/ifcfg-eth0 << EOF
- DEVICE=eth0
- BOOTPROTO=none
- ONBOOT=yes
- NETMASK=255.255.255.0
- IPADDR=XXX
- GATEWAY=192.168.0.90
- TYPE=Ethernet
- USERCTL=no
- IPV6INIT=no
- PEERDNS=yes
- EOF
- # 提取IP地址
- v_ip=`ifconfig eth0 | head -n 2 | tail -n 1 | cut -d ':' -f 2 | cut -d ' ' -f 1`
- # 替換ifcfg-eth0文件中IPADDR的xxx為$v_ip
- perl -pi -e "s,XXX,$v_ip," /etc/sysconfig/network-scripts/ifcfg-eth0
- %end
- ######################################################################
- ############## Network End
- ############## 3 Post End
- ######################################################################
- %pre
- echo "Starting PRE" > /dev/tty2
- # 以下兩行在push 64位系統的時候是必須的(Bug)
- cd /mnt/
- ln -s Source/Packages ./
- v_pci0=$(udevinfo -ap /sys/class/net/eth0 | grep 'ID==' | head -n 1)
- v_driver0=$(udevinfo -ap /sys/class/net/eth0 | grep 'DRIVER==' | head -n 1)
- v_mac0=$(ifconfig eth0 | grep HWaddr | cut -d ' ' -f 11)
- v_ip_short=$(grep $v_mac0 /mnt/stage2/workstation.list | cut -d '-' -f 1)
- v_ip=192.168.0.$v_ip_short
- if [ ! -z $v_ip_short ]
- then
- ifconfig eth0 $v_ip
- fi
- # partitions
- if
- grep -q hda /proc/partitions
- then
- disktype=hda
- else
- disktype=sda
- fi
- # 設置分區
- cat >> /tmp/partitioning <<EOF
- # 清除主引導記錄MBR
- zerombr yes
- # 清除所有的分區
- clearpart --all
- # 設置/boot分區為50MB,文件系統格式為ext4
- part /boot --fstype=ext4 --size=50
- # 設置swqp分區為512MB
- part swap --size=512
- # 創建8GB的PV
- part pv.Lrhel6 --size=8000
- # 創建 VG
- volgroup Lrhel6 --pesize=32768 pv.Lrhel6
- # 創建 LV ,並掛載到根分區中
- logvol / --vgname=Lrhel6 --size=7000 --name=root
- EOF
- %end